How to Draw Camera Step by Step

Click HERE to save the tutorial to Pinterest!
The camera is a familiar piece of technology. Today, many people carry a camera with them everywhere as part of their cell phone, tablet, or laptop.
For most of human history, the only way to take a selfie was to have someone draw or paint your likeness. The earliest cameras were also very different from those we use today.
For centuries, people had used a device called the camera obscura to aid in drawing and to safely view solar eclipses.
Using a camera obscura was like being inside a giant camera - it consisted of a small, dark room with a tiny hole to allow light in. An upside-down image of what was outside could be seen on the wall, but it wasn't recorded unless you drew it.
Scroll down for a downloadable PDF of this tutorial.
In the 1820s, a technique was developed that allowed the image to be captured on a metallic photographic plate.
Later, the plate was replaced by flexible film. Early cameras had to be large to hold the film, and some were very heavy.
Taking pictures also took longer. In order to have a portrait taken, a person had to sit very still for several minutes.
The film would then be removed from the camera and processed in a dark room using various chemicals.
Today, few cameras use film. Most are digital - light is captured by a sensor that records the image in the form of a computer file.
Would you like to draw a camera? This easy, step-by-step drawing guide is here to help.
All you will need is a pencil, a sheet of paper, and an eraser. You may also wish to use crayons, colored pencils, markers, or other implements to complete your drawing.
If you liked this tutorial, see also the following drawing guides: Horse Head, Cartoon Fish, and Curly Hair.
Step by Step Instructions for Drawing a Camera

1. Begin by drawing a rectangle - four straight lines, four right angles. This will form the camera body.
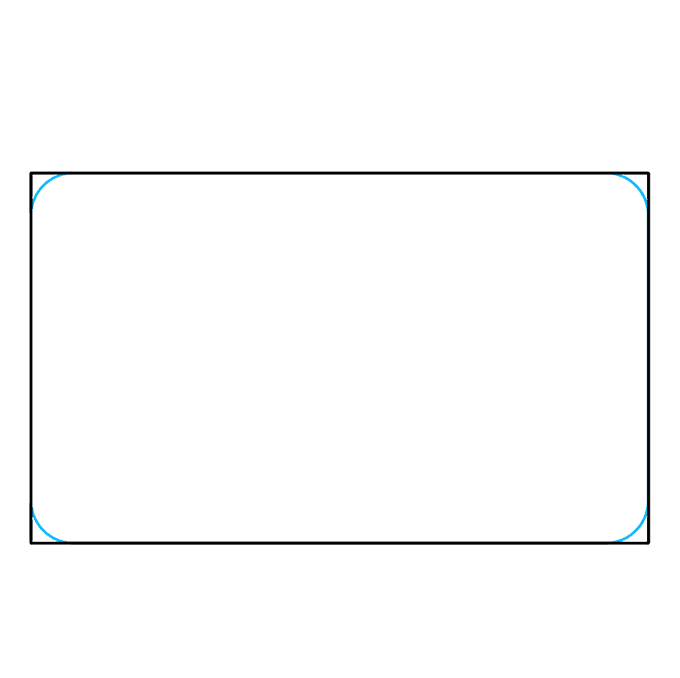
2. In each corner of the rectangle, draw a short, curved line. This will serve to round the edges of the camera.

3. Erase the corners of the rectangle, leaving the curved lines. You now have a clean camera body outline.

4. On top of the camera, enclose two small, elongated rectangles. These will serve as buttons that control the camera.
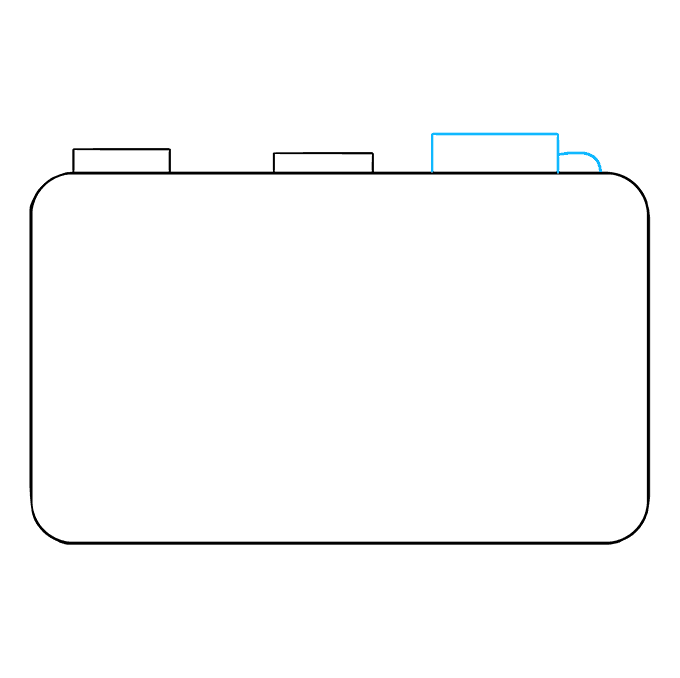
5. On the other side of the camera's top, draw another, slightly larger rectangle. Connect the rectangle to the camera body by drawing a short, curved line. This forms another of the camera's controls.
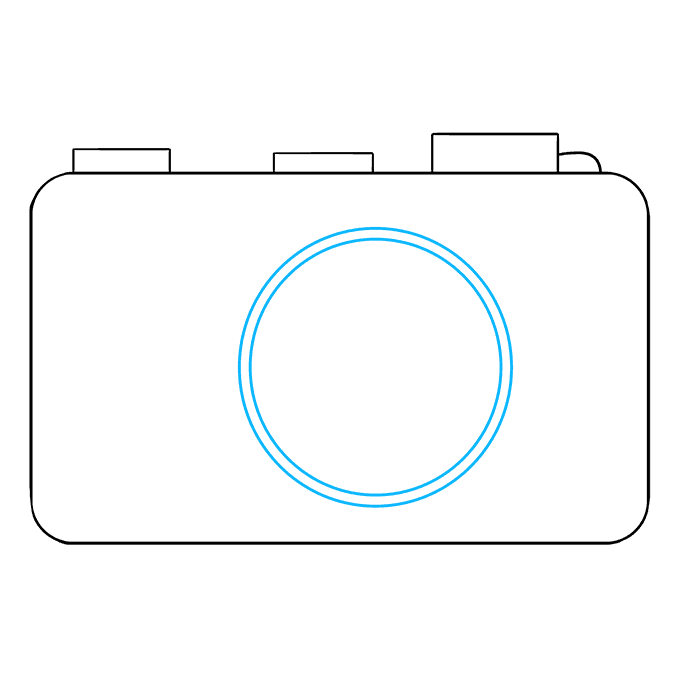
6. In the middle of the camera body, draw a large circle. Sketch a slightly smaller circle within the first. This outlines the camera's lens, the round glass protrusion that allows you to focus on an image.

7. Inside the lens, draw another circle. Draw another, smaller circle within it. This forms the inner housing of the lens.
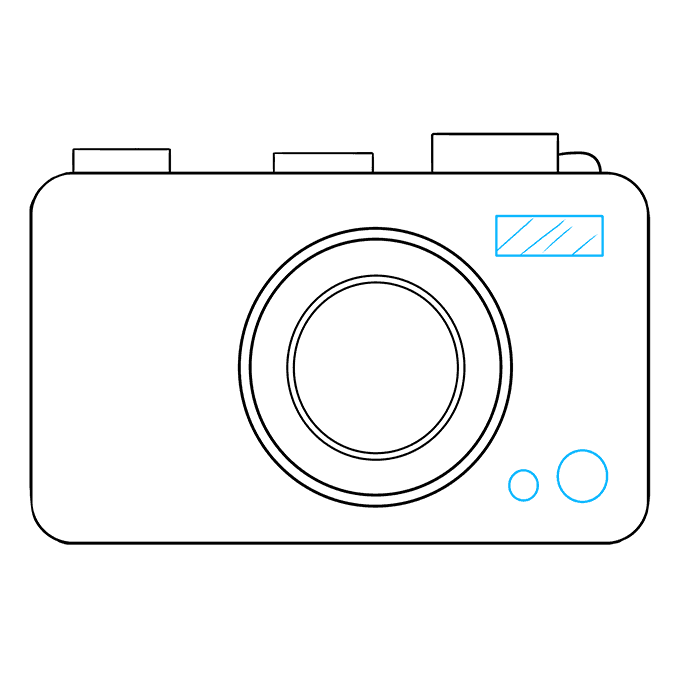
8. Add details to the front of the camera. Draw a small rectangle in the upper corner of the camera body. Draw a few straight, diagonal lines across it, texturing the glass. This indicates the camera's flash, the bright light that allows you to take pictures. Next, draw two circles of differing widths in the bottom corner.

9. Many cameras have an ergonomic finger grip on the front to aid you in not dropping the camera. To draw this, sketch three identical rectangles beside the lens, opposite the flash.
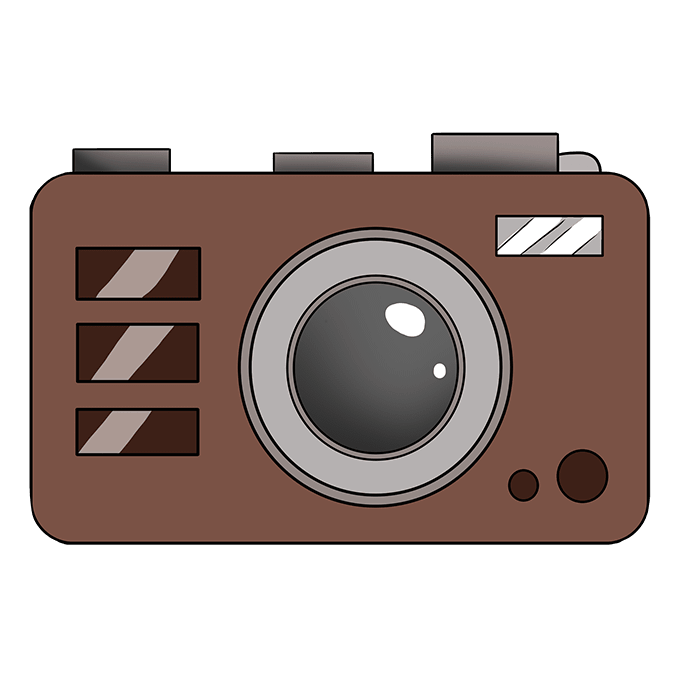
10. Color your camera. At one time, most cameras were brown or black in color, but today, they come in many shades, including red, white, and yellow. What is your camera going to take a picture of? Why not go on a photo safari with our animal drawing guides?.
Scroll down for a downloadable PDF of this tutorial.
Printable Drawing Tutorial
MEMBER TROUBLESHOOTING
Still seeing ads or not being able to download the PDF?
First, check that you're logged in. You can log in on the member login page.
If you're still not able to download the PDF, the likely solution is to reload the page.
You can do this by clicking the browser reload button.
It is a circular arrow-shaped icon at the top of the browser window, typically found in the upper-left side (you can also use keyboard shortcuts: Ctrl+R on PC and Command+R on Mac).
How to Draw Camera Step by Step
Source: https://easydrawingguides.com/how-to-draw-a-camera/
0 Response to "How to Draw Camera Step by Step"
Post a Comment